In this guide, you will learn how to edit and delete groups in the Groups page settings. Follow the steps below to modify or delete groups.
Editing a Group
- Go to the Main Screen and click on Settings (gear icon) > Groups to open the Groups page.

- The Groups page will open.
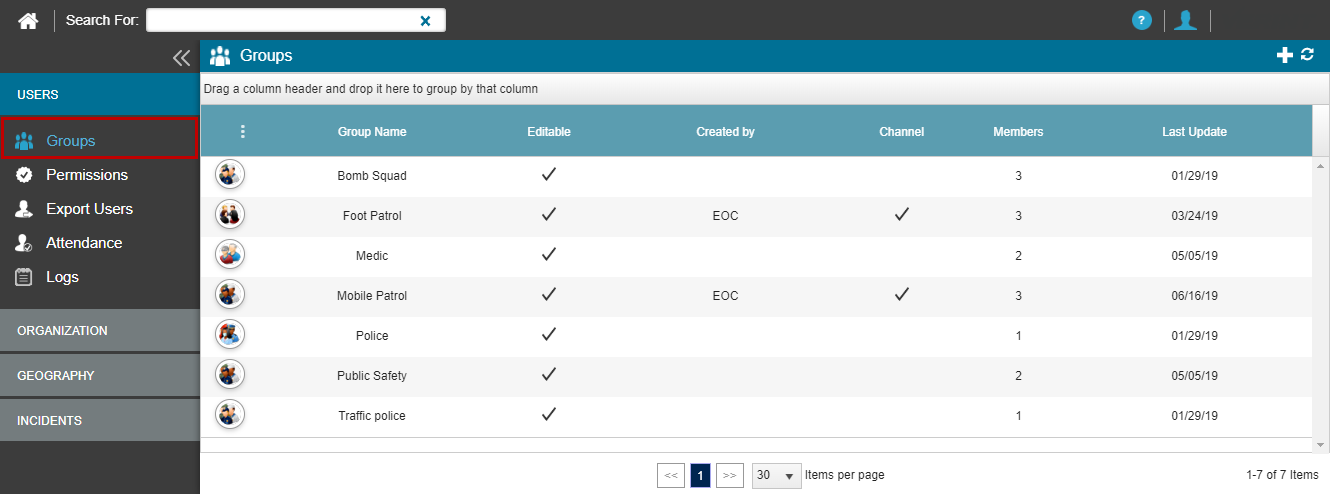
- Hover over the group you want to edit to display the Action menu for that group.

- Click on Edit Group to open the Group Management wizard.
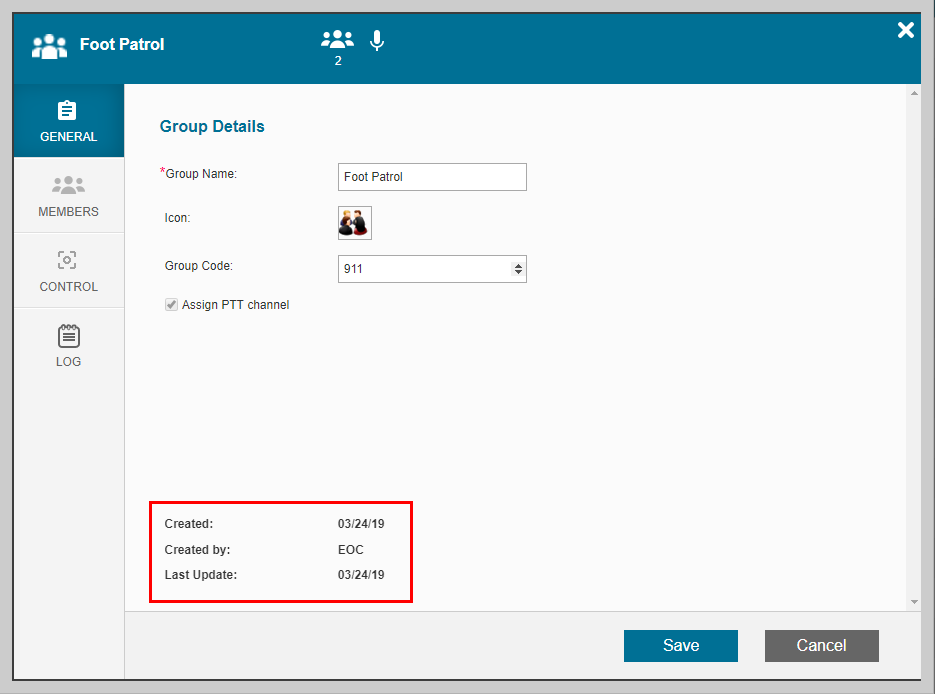
- Adjust the information on the General or Members tab, as described in Creating New Groups.
Note: At the bottom of the General tab, you can view technical information about the group.
Deleting a Group
- Open the Groups page and find the group you want to delete, as described above.
- Click on Delete Group to remove the selected group.
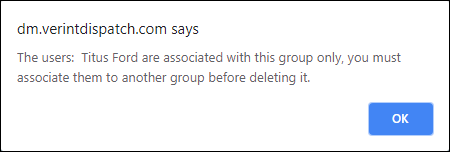
Note: You can only delete a group if all members of the group are also members of at least one other group, as each user must belong to a group.
If you attempt to delete a group where users are members without other group associations, a notification similar to the image below will appear.
Note: Creating, editing, or deleting groups can only be performed when you, the Administrator, are logged into the main control center. Group settings are not accessible in secondary control centers.
Linked Mentions